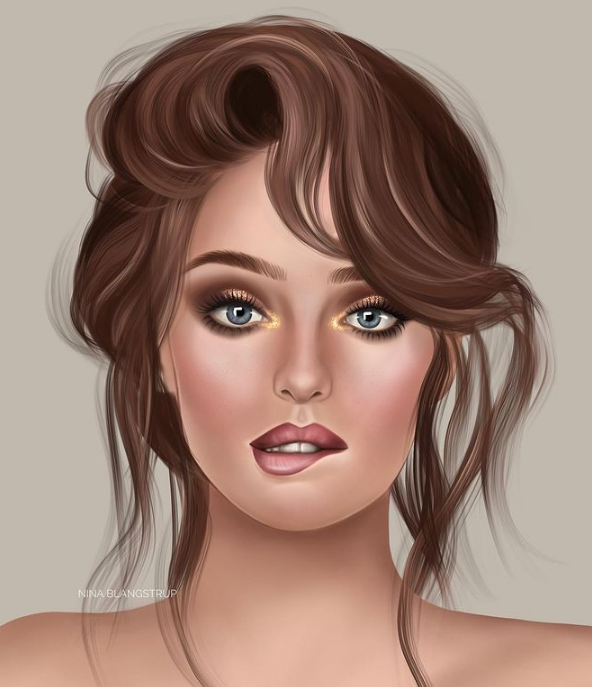
Hair is a captivating and expressive element of a portrait, and mastering its intricacies can bring your subjects to life. In this article, I’ll share some valuable techniques and tips for drawing realistic hair in your portraits, whether you work with graphite or digital tools. So, grab your pencils or stylus, and let’s unlock the power of hair together!

- Observation and Understanding: When it comes to drawing realistic hair, observation is key. Take the time to closely observe different hair textures, lengths, and styles in real life or reference photos. Pay attention to how light interacts with the strands, the direction of hair flow, and the different layers or sections. This understanding will serve as a solid foundation for your hair drawings.
- Establishing the Underlying Structure: Start by lightly sketching the basic shape and structure of the hair. Determine the overall flow, whether it’s cascading, wavy, or tightly curled. Consider the hairstyle and how it frames the face. Focus on the major sections and layers, using light and loose strokes to map out the hair’s general direction and volume. Remember, we’re building the foundation here.
- Building Up Layers and Values: To create depth and dimension in your hair drawings, layering is essential. Begin with light pressure, gradually adding darker values to represent shadows and areas with more density. Use a range of pencil grades or digital brushes to create a variety of textures, from smooth strands to wispy flyaways. Pay attention to the highlights and reflections that add sparkle and life to the hair.
- Capturing Texture and Details: Hair has a unique texture, and capturing its intricacies will make your drawings more realistic. Use a combination of short, feathery strokes and longer, flowing lines to depict individual strands. Vary the thickness and direction of your strokes to mimic the natural variation in hair. Don’t be afraid to experiment and adjust your techniques based on the specific hair type or style you’re portraying.
- Blending and Shaping: To achieve a seamless look and soft transitions in your hair drawings, blending is your secret weapon. Whether you use a blending stump, tortillon, or digital blending tools, gently blend and smudge the pencil or digital strokes. This technique helps to soften hard lines and create a more realistic, flowing appearance. Be mindful of preserving the highlights and maintaining the desired texture.
- Adding Finishing Touches: Once you’re satisfied with the overall look of the hair, step back and assess your drawing as a whole. Make any necessary adjustments to ensure balance and harmony with the rest of the portrait. Add subtle flyaway hairs, wisps, or hair strands that frame the face or fall naturally. These small details can enhance the overall realism and bring your portrait to life.
Congratulations, my friends! You’ve unlocked the power of hair in your portrait drawings. By observing, understanding, and applying these techniques, you can create realistic and captivating hair that adds depth and character to your subjects. Remember, practice is key to refining your skills, so don’t be afraid to experiment and explore different hair types and styles. As always, keep sharing your progress with me and the community. I can’t wait to see your incredible hair drawings! Until next time, happy creating!